Inspiration: Bed Frame & Headboard
I did it!! Well, almost. And it wasn’t really me that did 90% of the work. It was this guy:
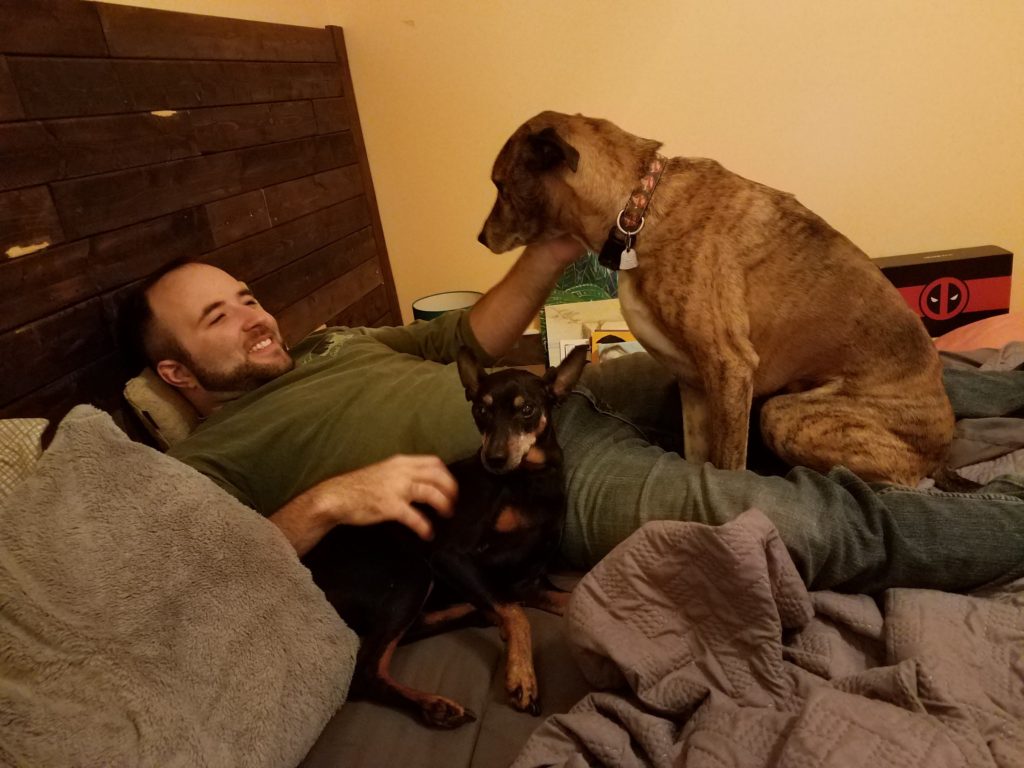
I got a boyfriend, y’all. We had only been dating a couple months when he started this project with me. And it didn’t take long to reveal that I was pretty incompetent as a helper. He’s a saint. Plus he actually likes my dogs. And they love him.
But back to the bed frame. This project was a HUGE pain in the ass, for the record. We’ve jokingly mentioned ways we’ll do it differently next time, but I really can’t imagine ever doing this again. Huge pain in the ass.
We were reusing lumber that had been used in a previous home renovation project that need not be mentioned. It saved a TON of money to not have to buy all this wood, but it was difficult to use pieces that had been cut and screwed and were warped and stained and…it was just a lot.
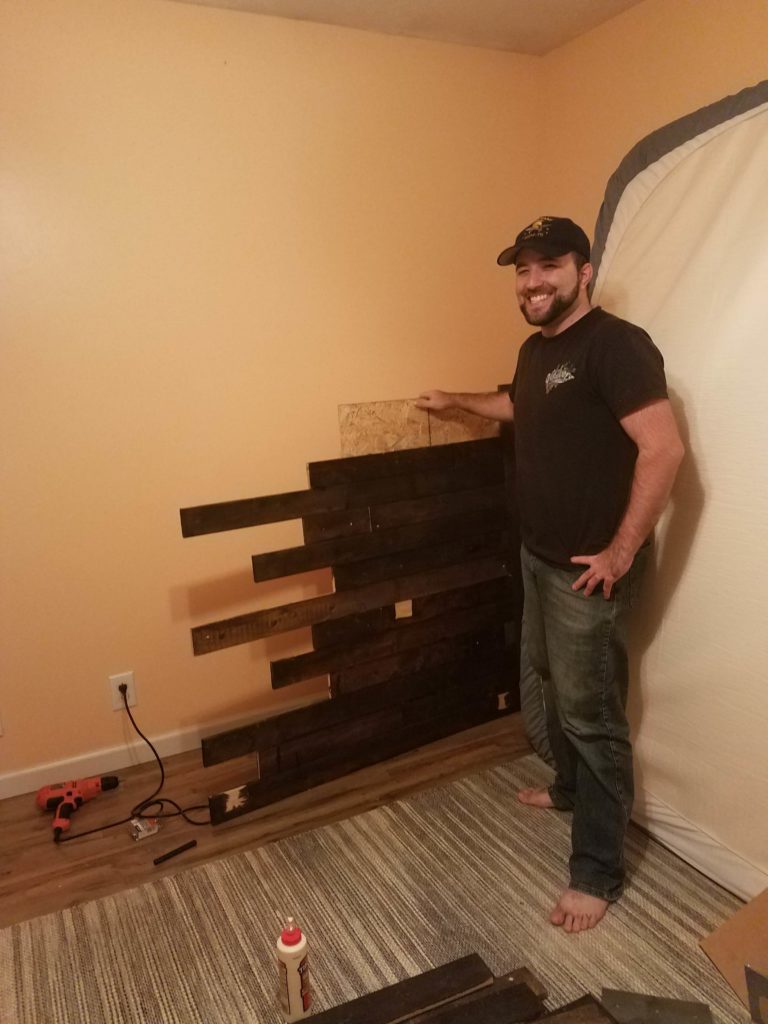
Basically we had several pieces of ply wood and we would fit pieces of the 1×4 together like a puzzle, then use wood glue and screws to attach them. I was behind the headboard, holding it upright while M fit pieces of wood together and glued them in place. Then I would screw it in place from the back, so there weren’t a million screw heads on the front. And yes, there were a lot of screwing, banging, nailing, etc. jokes. We’re very mature people.
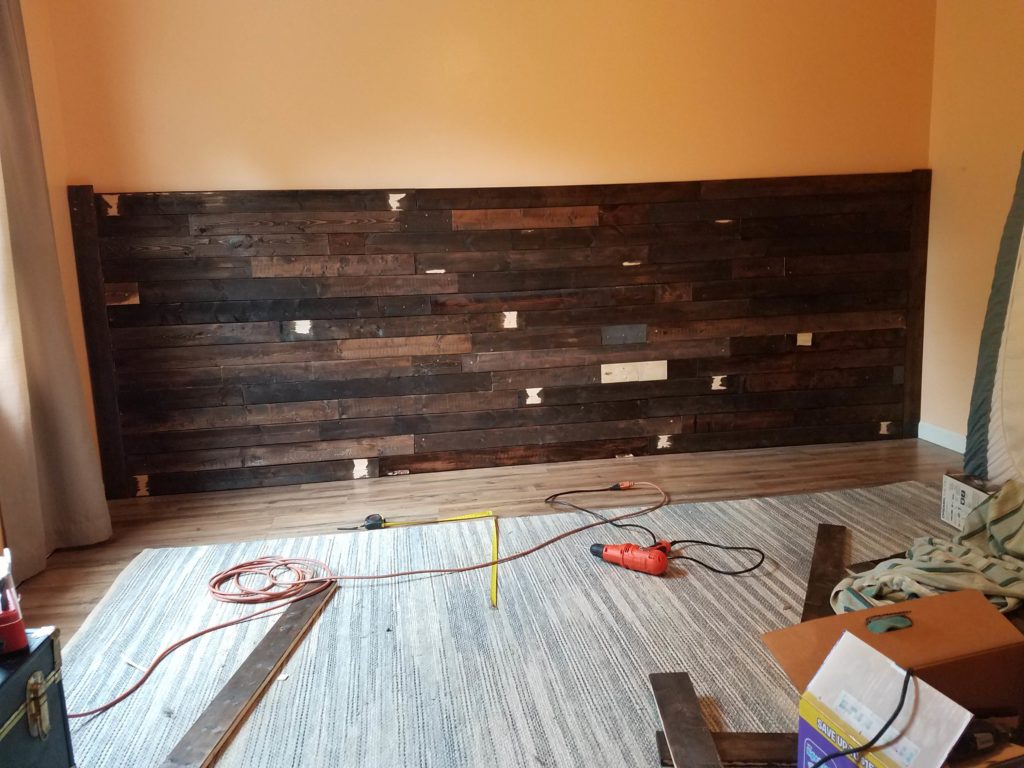
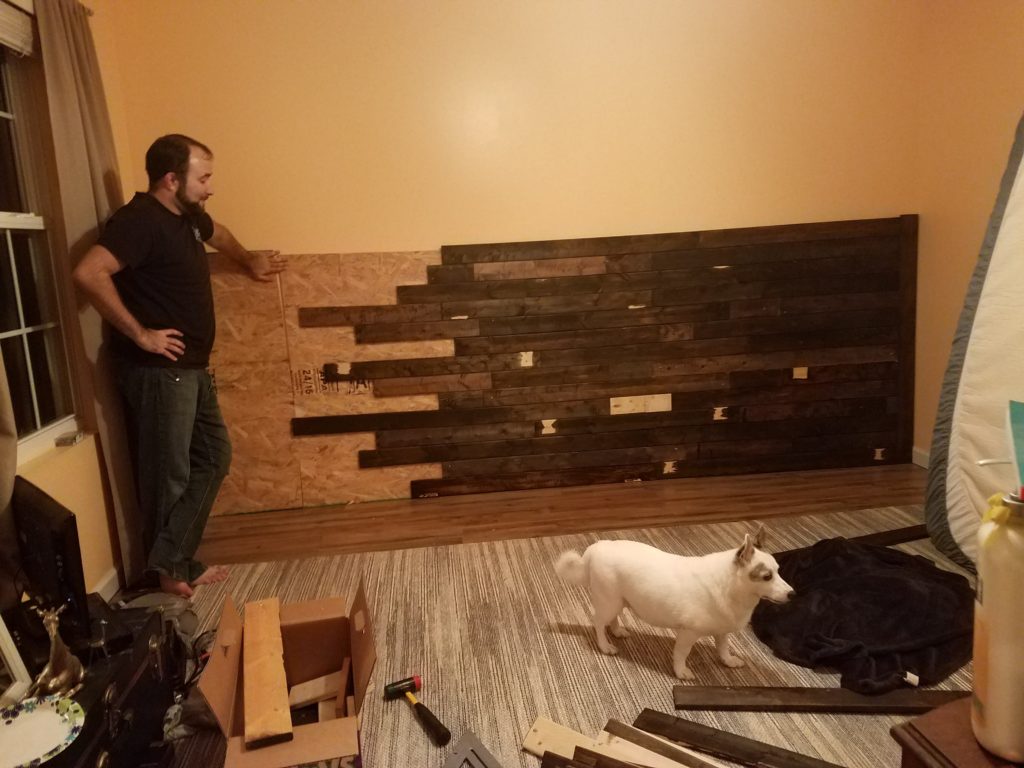
It was incredibly fortuitous that the headboard fit against the back wall as well as it did. We knew the width of that wall, but in the process of piecing together all the wood and the plywood, and getting it to line up and stay somewhat level…we lost track of that. So, seriously. Miracles do happen. Of course, the studs in my house are as dysfunctional as everything else in my house (people included). We found studs everywhere except the bottom right corner. And we tried. He drilled (oh, add “drilled” to the list of innuendos that we made) probably close to a dozen holes in the wall. The fact that we never hit any pipes or wires is a miracle. And yes, we DID use a stud finder (with jokes).
We also maybe forgot to drill a hole for the outlet before we started screwing it into the wall. Oops! But it’s fiiiiine. We kind of got it mostly in the right spot through blind luck and a phone charging cord. (Don’t ask.) The important thing is no one got electrocuted, and I can use this outlet!
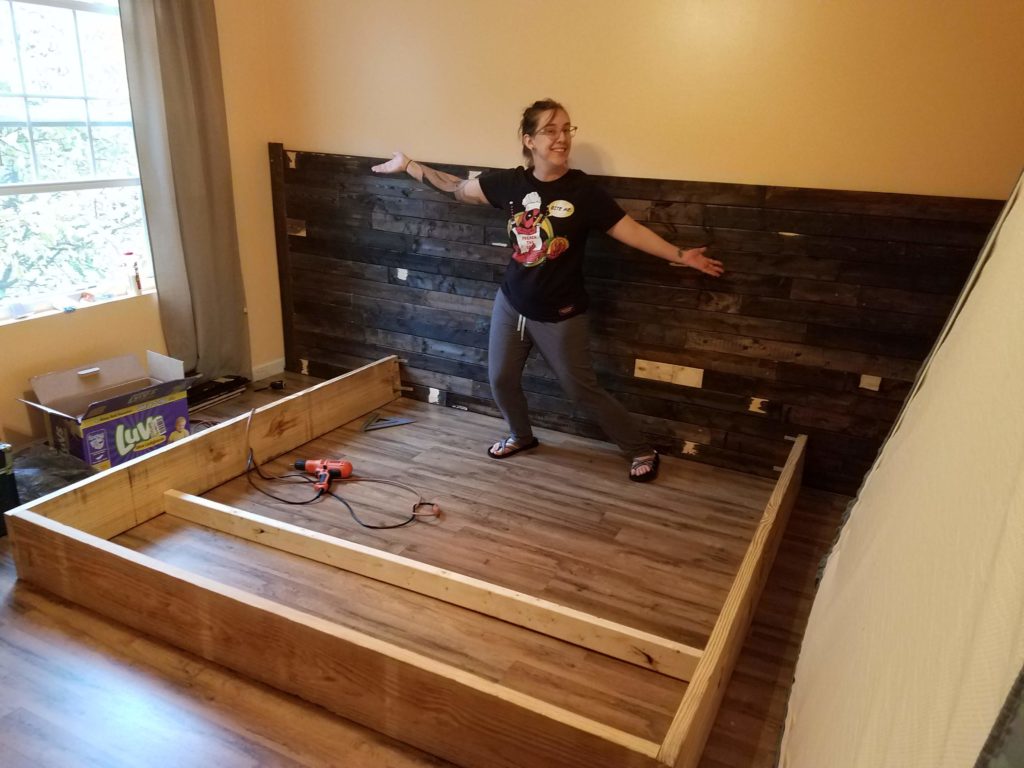
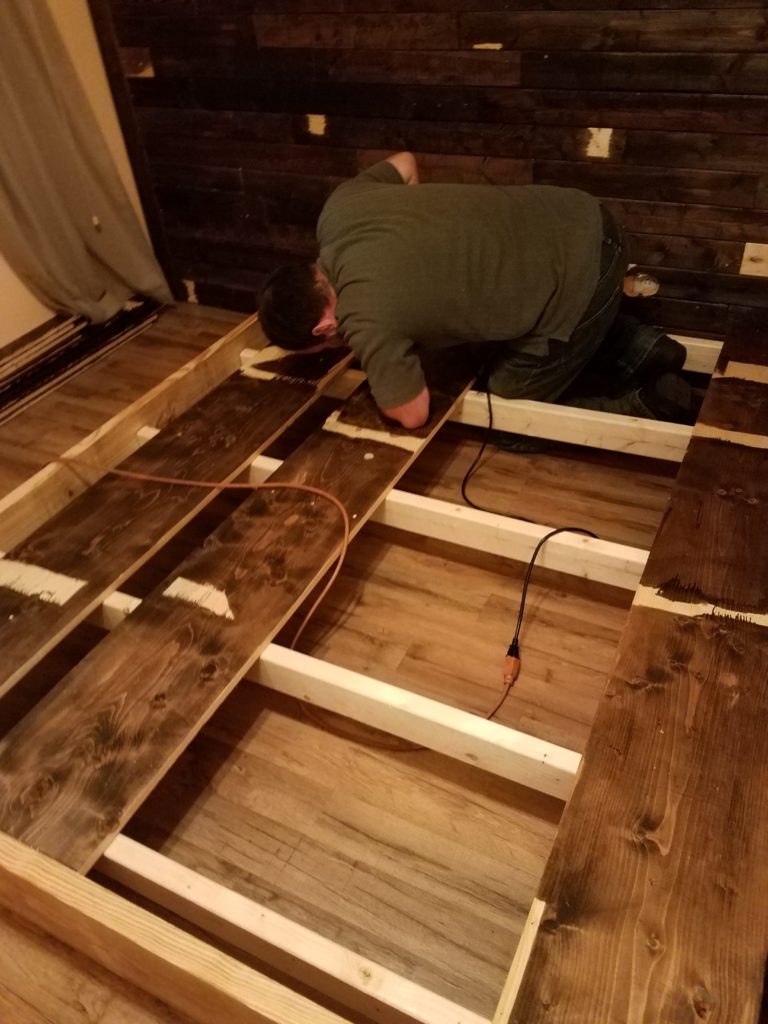
We did questionable math when building this base. I mean…we did questionable math when building ALL OF THIS, but the base especially got a bit wonky. My bed is almost, but not quite, square. And so is this base. It mostly works alright if the bed is a certain orientation so I guess it’s fine. But seriously…why is basic math so hard??
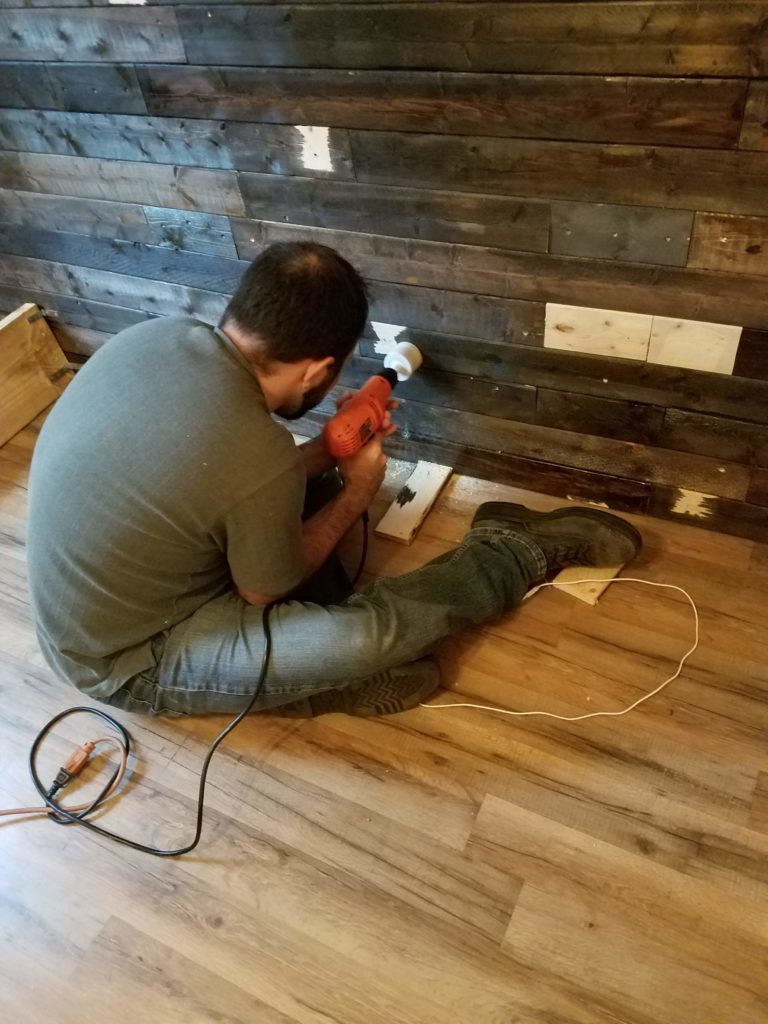
This wood was HARD, yo. This was probably the only part of the process where M was seriously struggling. It was right at the end, too, so he was determined to get it finished. I kept asking “Oh, are you okay? Sorry, I’m going to stop asking if you’re okay. You just tell me if you’re not okay. Ah! Are you okay??” It’s a miracle he didn’t strangle me.
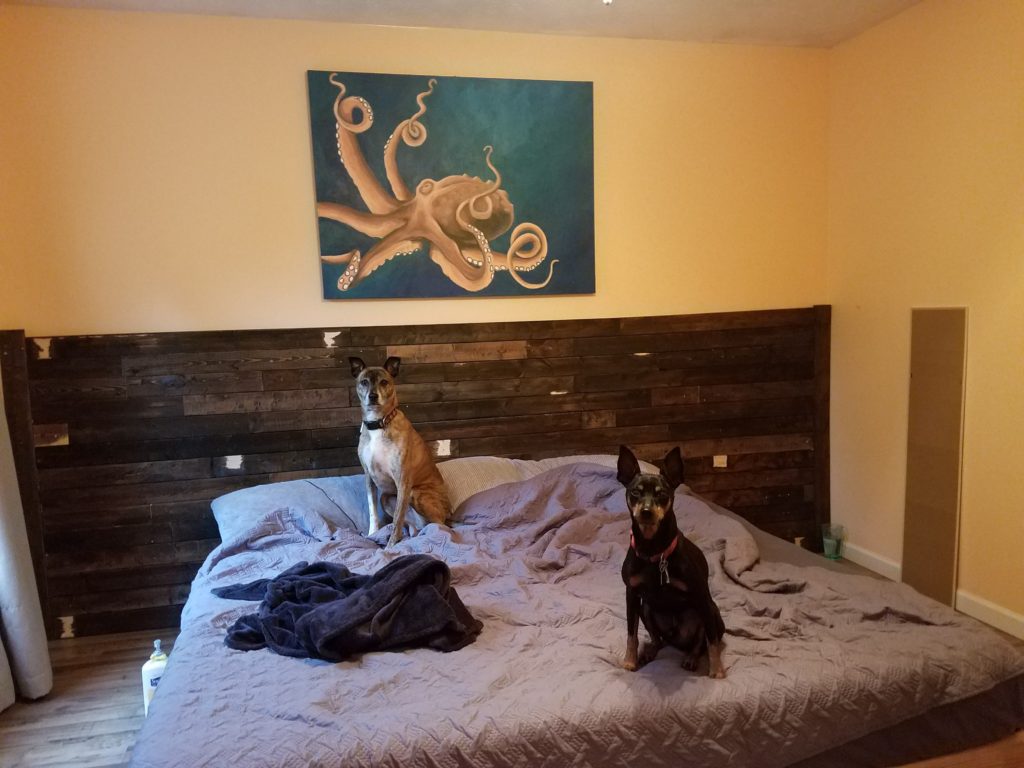
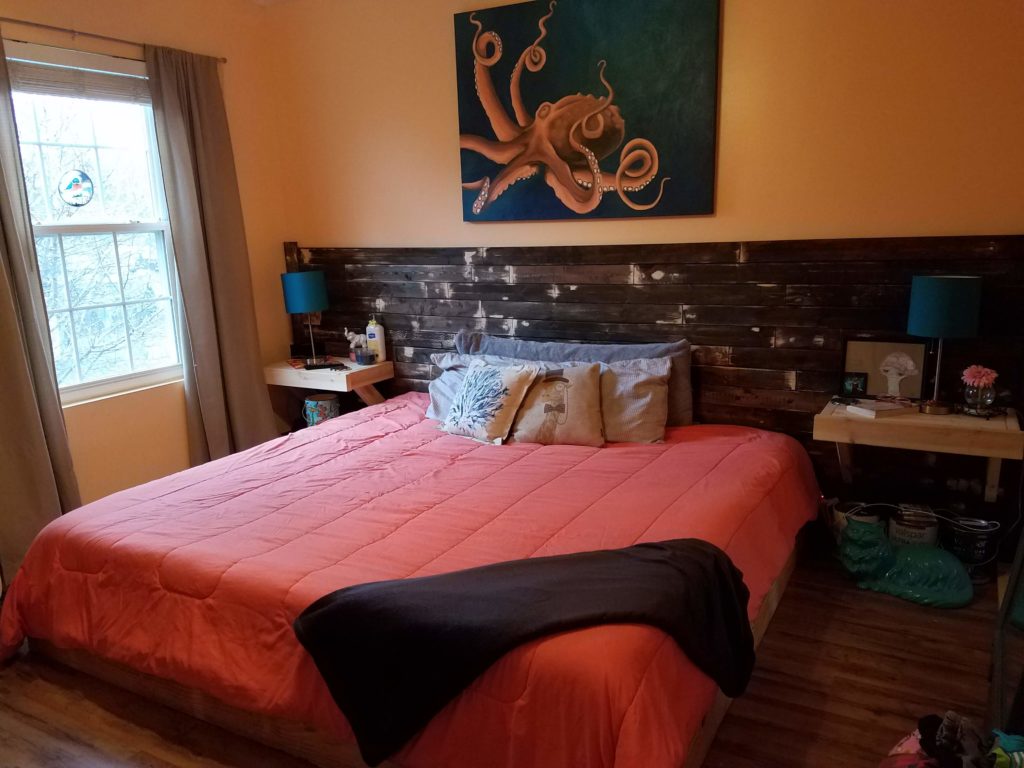
The sheer amount of effort that went into getting this far on this project is ridiculous. I’m not sure I would’ve done it had I known. It better last for a decade or two, because damn. But doesn’t that painting look good hanging above the bed?? Loooooove it.
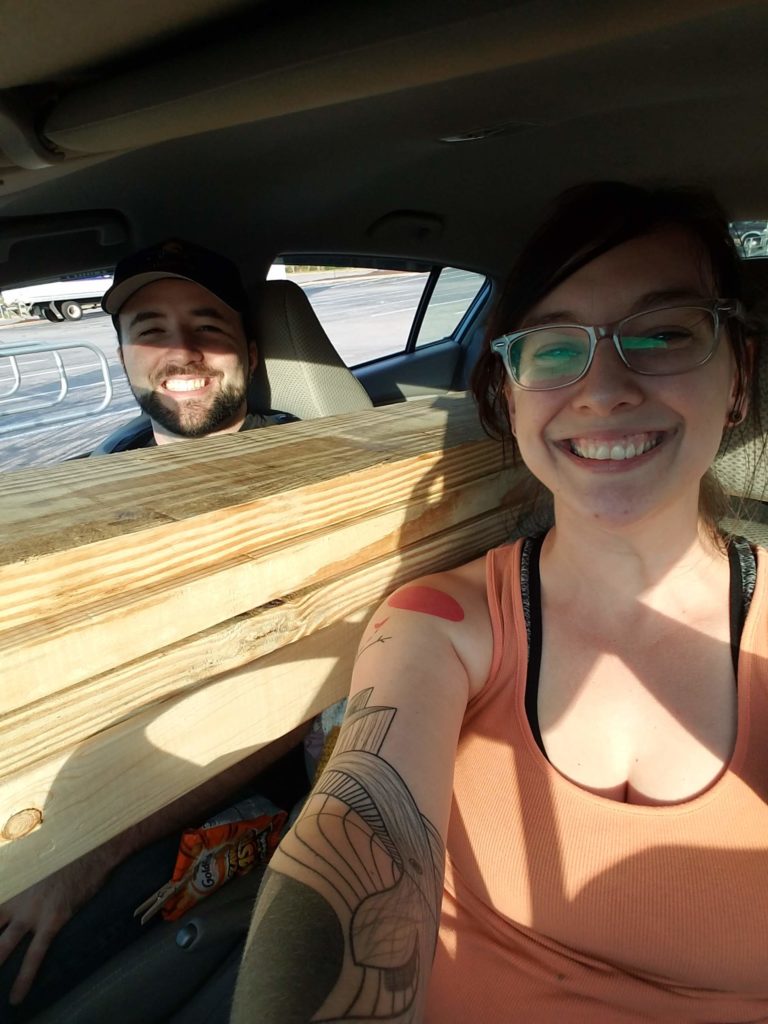
Of course, we weren’t done. We still needed to build side table shelves. Actually…now that I’m looking at this picture, I think this was when we bought lumber at the start of the project. BUT WHATEVER. We’re cute. Deal with it. I don’t have many pictures of the shelves being built because I was a more active participant in that process. I still can’t believe we pulled this off, though. There was a lot of just…hoping…it would work out. lol!
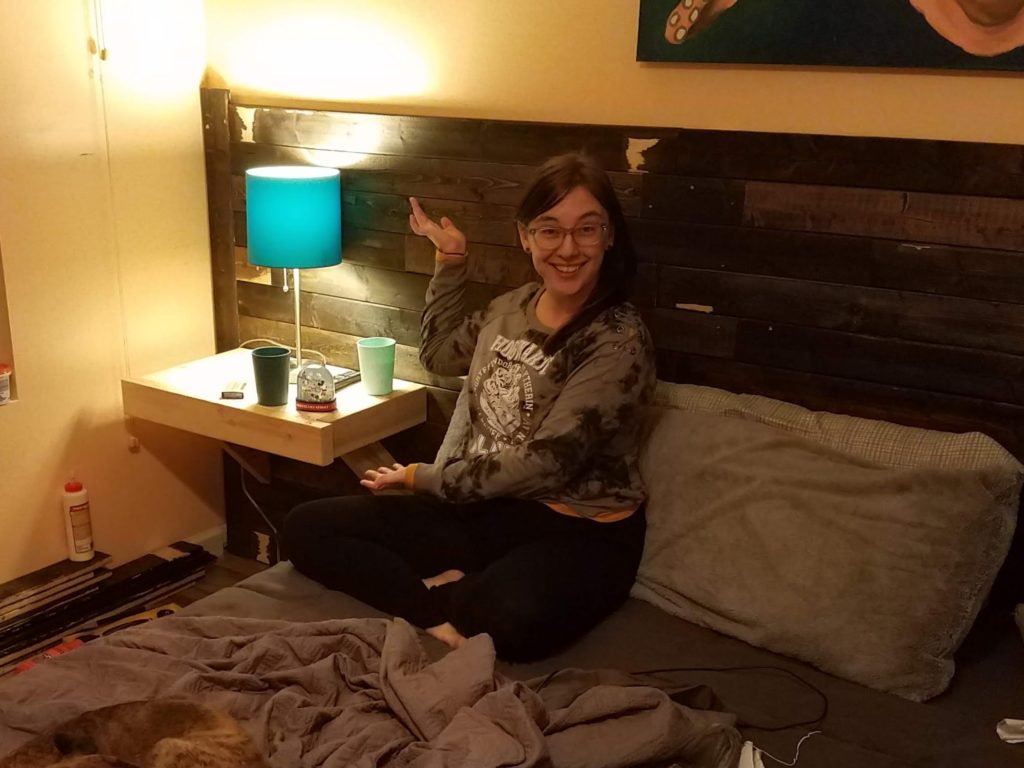
Ta-da! I swear I heard angels sing when I reached over and sat the first cup of water down on a shelf instead of the floor. The second shelf went much faster, and then suddenly all that was left was the painting. (Which still isn’t finished. But that’s a story for another day.) So for now I’ll leave you with this. A blog post that is probably WAY too long for what it needs to be, and the “final” picture again, but even bigger.